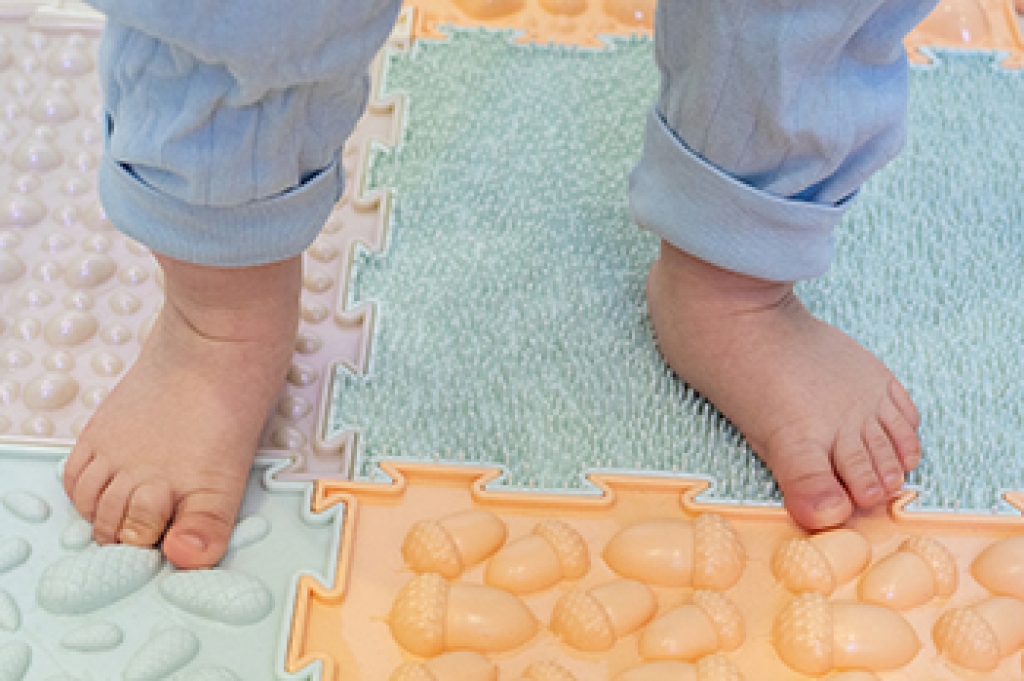
An ingrown toenail develops when the edge of a toenail grows into the surrounding skin instead of over it. This problem most often affects the big toe and can become increasingly painful if it is not treated. Several factors may contribute to an ingrown toenail, including improper nail trimming, tight-fitting shoes, or an injury to the toe. As the nail continues to press into the skin, irritation and inflammation may develop around the nail border. In some cases, bacteria can enter the damaged skin and lead to an infection. Because symptoms often worsen, a professional evaluation is important to identify the problem early and recommend appropriate treatment. Prompt podiatry care may also help prevent recurring ingrown toenails and protect overall foot health.
Symptoms of an ingrown toenail often begin with tenderness along one side of the nail. As the condition progresses, many people notice redness, swelling, or increasing pain while walking or wearing shoes. The affected area may also become warm to the touch or produce drainage if an infection develops. Everyday activities can become uncomfortable because even light pressure on the toe may cause significant discomfort. Although an ingrown toenail may seem minor at first, delaying treatment can allow inflammation and pain to become more severe. Identifying the cause early may help reduce complications and support a faster recovery.
A podiatrist specializes in diagnosing and treating ingrown toenails and other conditions affecting the feet. During an examination, the podiatrist evaluates the affected toe, determines the severity of the problem, and develops an individualized treatment plan. Treatment focuses on relieving pain, addressing infection when present, and helping prevent future nail problems. Early podiatry care may also improve comfort, restore normal toe function, and reduce the risk of recurring symptoms. If you are experiencing toe pain, swelling, or redness from an ingrown toenail, it is suggested that you consult a podiatrist for an evaluation and appropriate treatment options.
Ingrown toenails can become painful if they are not treated properly. For more information about ingrown toenails, contact one of our podiatrists of Apple Podiatry Group. Our doctors can provide the care you need to keep you pain-free and on your feet.
Ingrown Toenails
Ingrown toenails occur when a toenail grows sideways into the bed of the nail, causing pain, swelling, and possibly infection.
Causes
- Bacterial infections
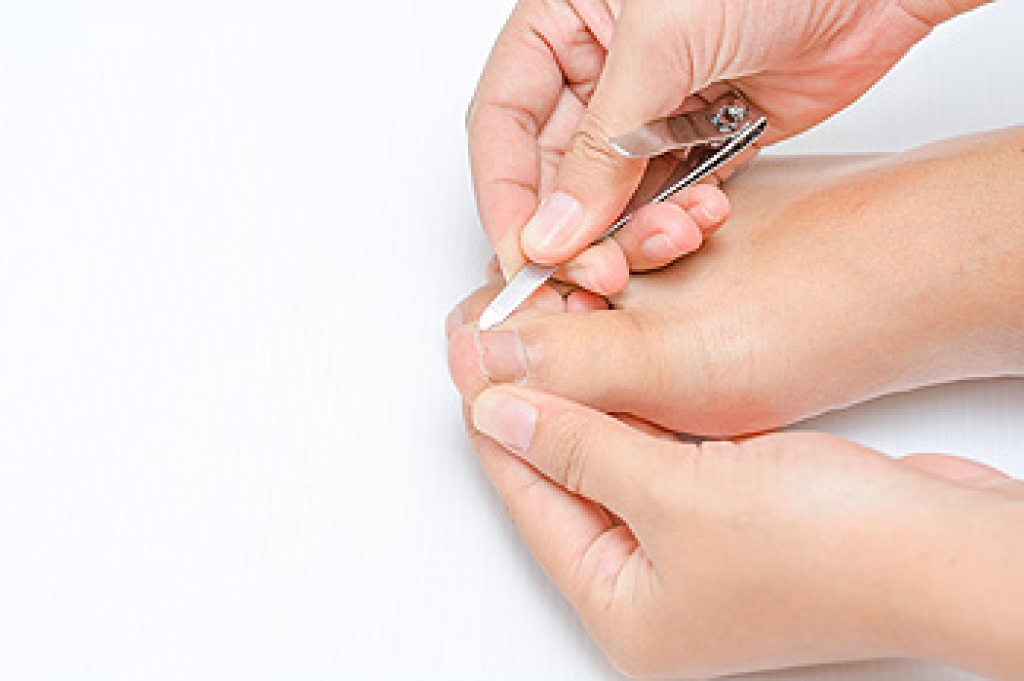
- Improper nail cutting such as cutting it too short or not straight across
- Trauma to the toe, such as stubbing, which causes the nail to grow back irregularly
- Ill-fitting shoes that bunch the toes too close together
- Genetic predisposition
Prevention
Wearing proper fitting shoes and using proper cutting techniques will also help decrease your risk of developing ingrown toenails.
Treatment
Ingrown toenails are a very treatable foot condition. In minor cases, soaking the affected area in salt or antibacterial soaps will not only help with the ingrown nail itself, but also help prevent any infections from occurring. In more severe cases, surgery is an option. In either case, speaking to your podiatrist about this condition will help you get a better understanding of specific treatment options that are right for you.
If you have any questions, please feel free to contact our offices located in Arlington Fort Worth, And Flower Mound, TX . We offer the newest diagnostic and treatment technologies for all your foot care needs.